Listen, I’ve spent way too much money at coffee shops trying to get my peppermint mocha fix, and honestly? I got fed up. Last December, I calculated I’d dropped nearly $200 on fancy drinks that probably cost them fifty cents to make.
So I decided to crack the code myself, and let me tell you…. making this syrup at home isn’t just cheaper, it’s actually ridiculously easy. Here’s what I learned that changed everything.
Quick Summary
- Combine sugar, water, cocoa powder, and salt in a saucepan over medium heat, stirring until smooth and thickened.
- Add peppermint extract gradually while tasting to achieve desired flavor balance before removing from heat.
- Allow syrup to cool completely, then strain through fine-mesh strainer to remove any sediment or peppermint bits.
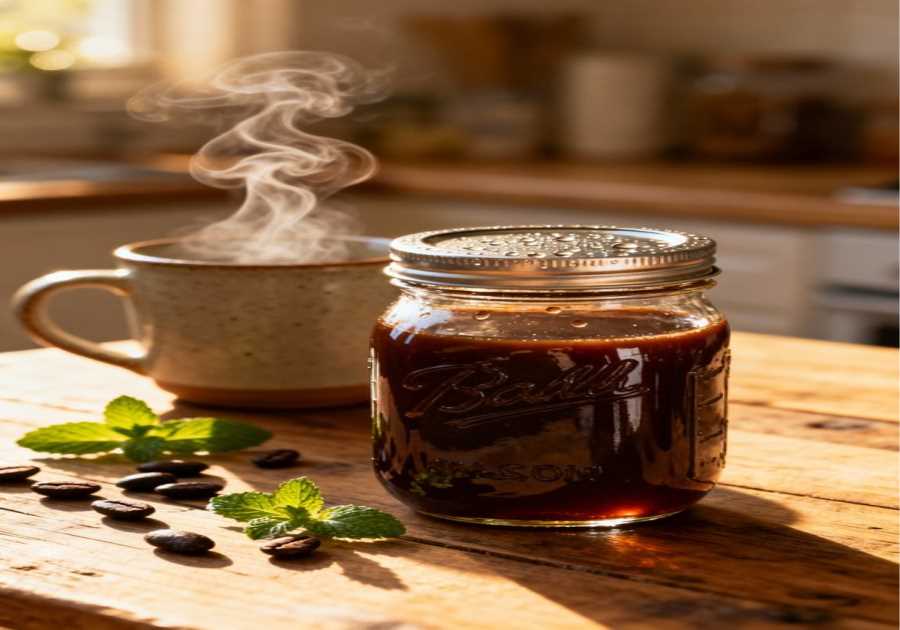
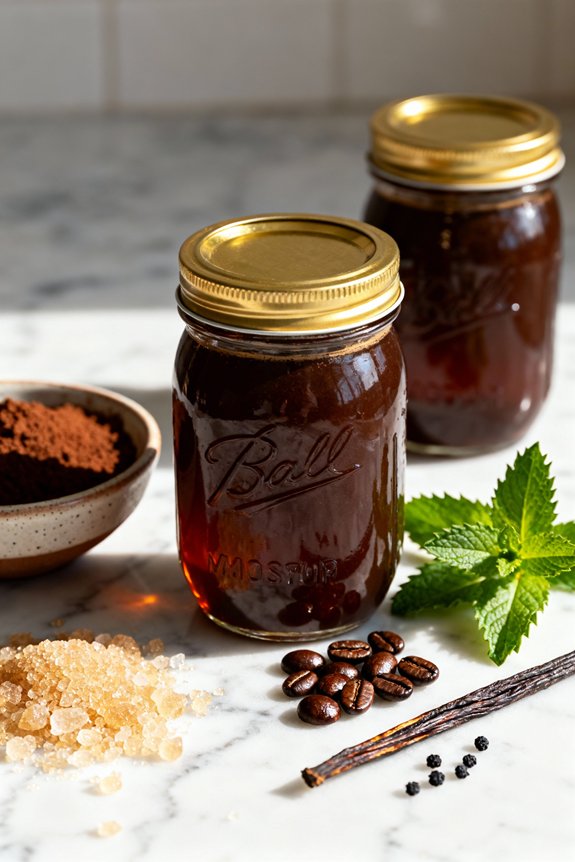
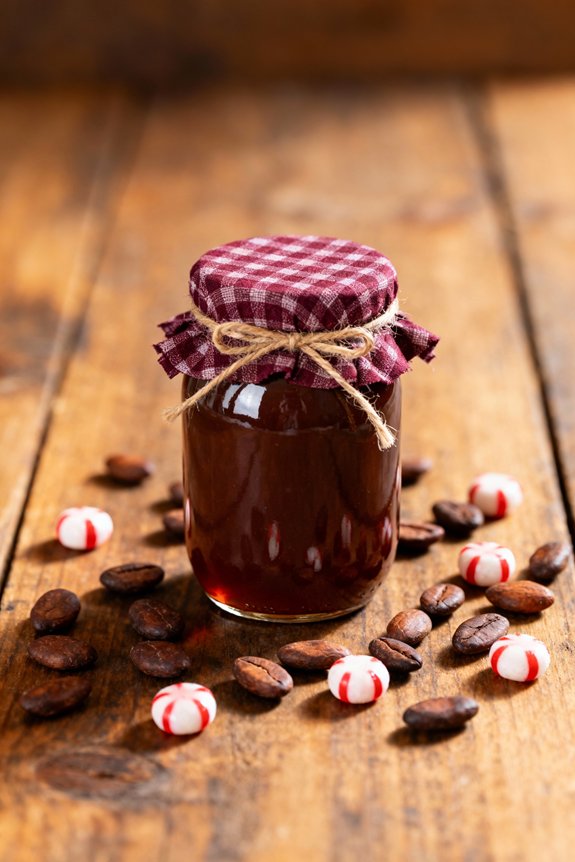
- Transfer cooled syrup into clean glass jars using a funnel and label with preparation dates for reference.
- Refrigerate syrup for up to two weeks; present in decorative jars as cost-effective, customizable seasonal gifts.
Why Make Your Own Peppermint Mocha Syrup

Since most coffee shops charge you an arm and a leg for their seasonal peppermint mocha drinks, making your own syrup at home isn’t just smart—it’s practically a survival skill for your wallet.
I’m talking about those $7 lattes that disappear in three sips while you’re still processing the credit card receipt.
Here’s why I’m obsessed with DIY syrup:
- It’s a cost effective alternative that actually works. One batch costs maybe $5 and lasts for weeks.
- You control the sweetness. No more diabetes-inducing sugar bombs.
- Seasonal flavor enhancement becomes year-round. Who says peppermint mocha season has rules?
- Homemade syrup in cute jars makes you look like a domestic goddess.
All of this without the hassle.
When you control ingredients and portion sizes at home, you can avoid the excessive sugars and additives that coffee shops typically use in their syrups.
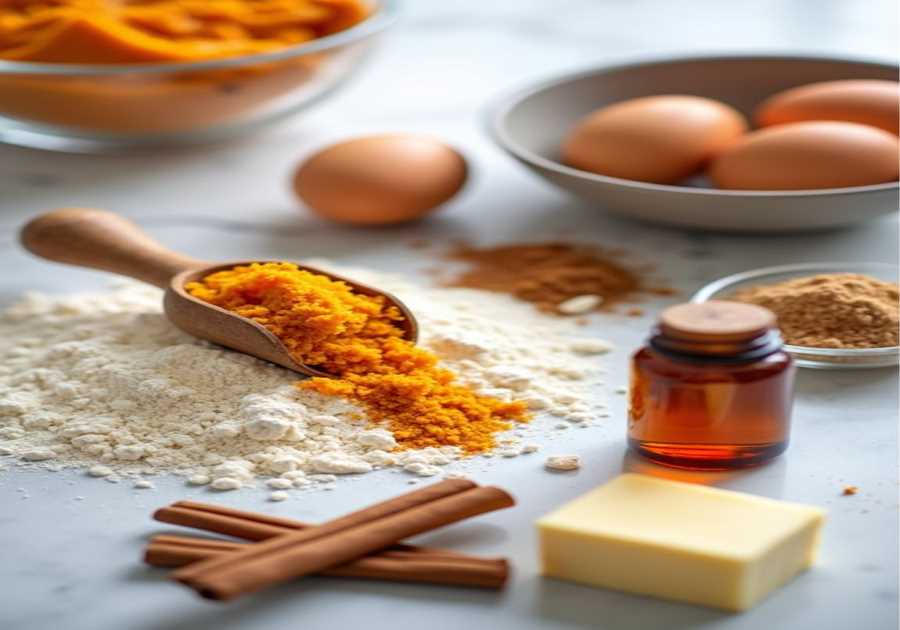
Ingredients You’ll Need
This whole recipe uses five ingredients, count ’em, FIVE!! Which means you probably already have everything sitting in your pantry right now, judging you for not making this sooner.
I’m talking about the basics:
- Granulated sugar (because sweet is the whole point)
- Unsweetened cocoa powder (making this one of those mocha alternatives that won’t break the bank)
- Peppermint extract (hello, peppermint benefits like improved focus and holiday cheer)
- You’ll also need water and a pinch of salt.
That’s it.
My grandma used to hoard peppermint extract like it was liquid gold, and now I understand why.
One tiny bottle transforms boring chocolate into something that makes your taste buds do a happy dance.
No fancy equipment, no weird ingredients you can’t pronounce.
Just straightforward deliciousness.
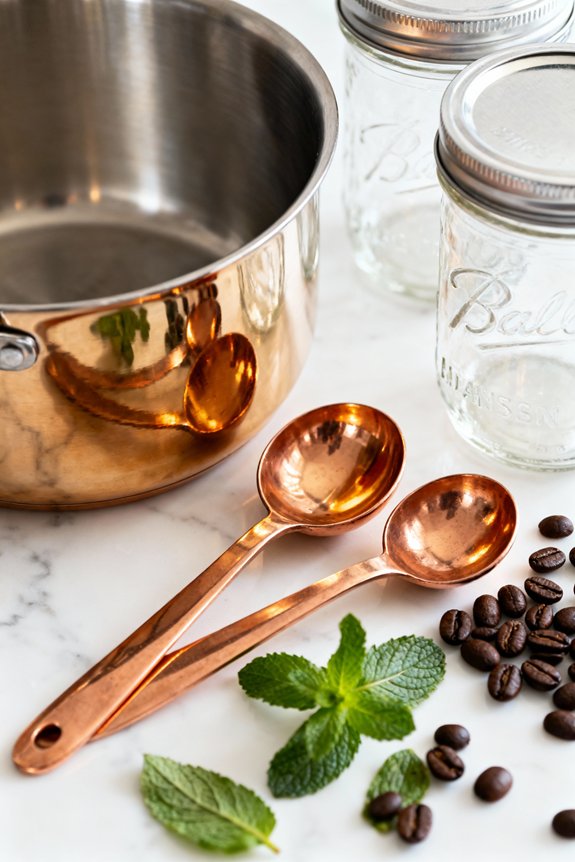
Essential Equipment and Supplies
You’ve got your ingredients lined up, and now you’re probably wondering what kind of fancy kitchen arsenal you need to pull this off.
Spoiler alert: you don’t.
Here are your essential tools:
- Medium saucepan
- Whisk (or a wooden spoon if you’re feeling rebellious)
- Measuring cups
- Fine-mesh strainer
- Funnel
- Glass jars with lids
| Must-Have | Why You Need It |
|---|---|
| Saucepan | Combines necessary ingredients |
| Strainer | Catches peppermint bits |
| Funnel | Prevents sticky countertop disasters |
| Glass jars | Makes gifting gorgeous |
I once tried skipping the strainer, thinking I was saving time.
Wrong.
My friend found a peppermint leaf chunk in her latte and texted me a very creative emoji combination. Don’t be me. Use the strainer.
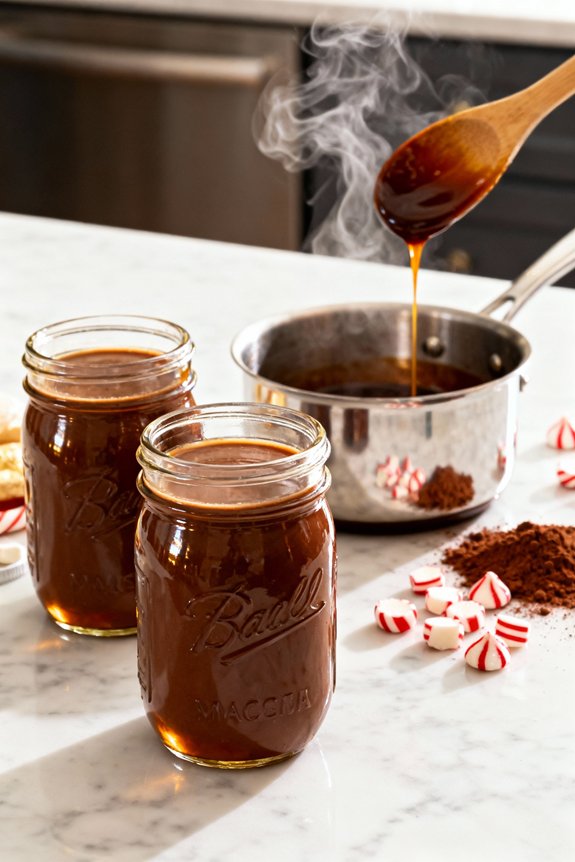
Step-by-Step Instructions
Making peppermint mocha syrup takes exactly twelve minutes from start to finish—I’ve timed it obsessively because I’m that person who needs to know these things.
Here’s what you’ll do:
- Combine sugar, water, and cocoa powder in your saucepan over medium heat.
- Stir constantly until the mixture reaches proper syrup consistency (think maple syrup, not chocolate milk).
- Remove from heat and add peppermint extract gradually for perfect flavor balance.
I learned the hard way that dumping all the peppermint in at once creates toothpaste coffee.
Not cute.
Start with half the extract, taste it, then add more. The chocolate should hug the peppermint, not wrestle it into submission.
Once you’re happy with the taste, let it cool completely before funneling into your pretty jars.
That’s literally it.
How to Use Your Peppermint Mocha Syrup
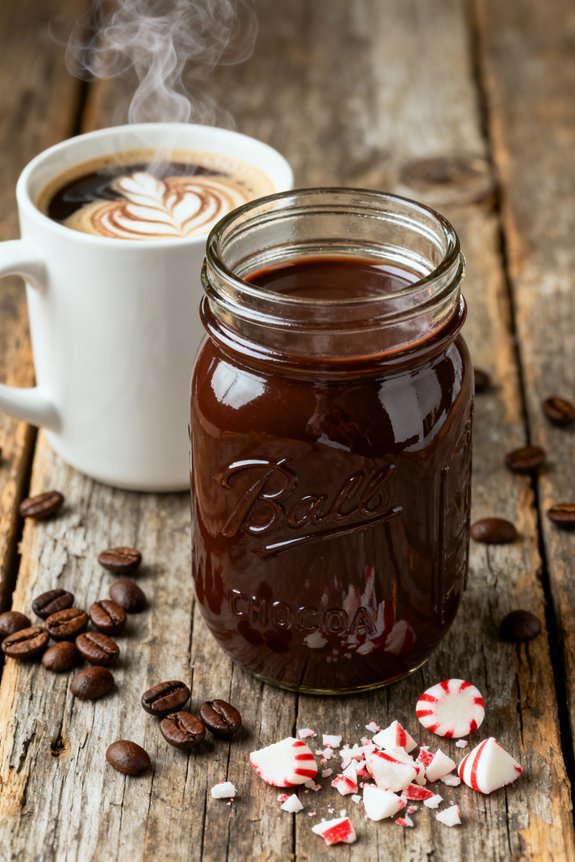
Why bother making this syrup if you’re just going to let it sit pretty in your fridge? Let’s talk about ways to enjoy this liquid gold.
Serving suggestions that’ll make your taste buds dance:
- Stir 2-3 tablespoons into hot coffee or espresso
- Mix into steamed milk for a kid-friendly treat
- Drizzle over vanilla ice cream (trust me on this one)
- Add to hot chocolate for double the chocolate pleasure
I once poured mine over pancakes when I ran out of maple syrup, and honestly? Game changer.
The beauty of homemade syrup is you control the sweetness level. Too strong? Add more milk. Not peppermint-y enough? You clearly didn’t make it right.
Store it in the fridge for up to three weeks, though mine never lasts that long. For those who love combining mint and chocolate flavors, this syrup works beautifully in a cold brew base for refreshing iced coffee drinks.
Storage Tips and Shelf Life
Since we’re dealing with chocolate and dairy here, proper storage isn’t just a suggestion—it’s the difference between delicious syrup and a science experiment gone wrong.
I learned this the hard way when I left a jar on the counter for three days and uncovered something fuzzy growing inside.
Not my proudest moment.
Here’s what you need to know:
- Storage temperature matters big time: Keep your syrup refrigerated at all times, where it’ll last about two weeks.
- Expiration indicators include off smells, mold, or separation that won’t remix.
- Use clean utensils every single time—no double-dipping with your coffee spoon.
Label your jars with dates.
Trust me, future you’ll appreciate knowing when you made that batch.
Just like with coffee beans, proper storage is crucial for maintaining your syrup’s quality and preventing spoilage.
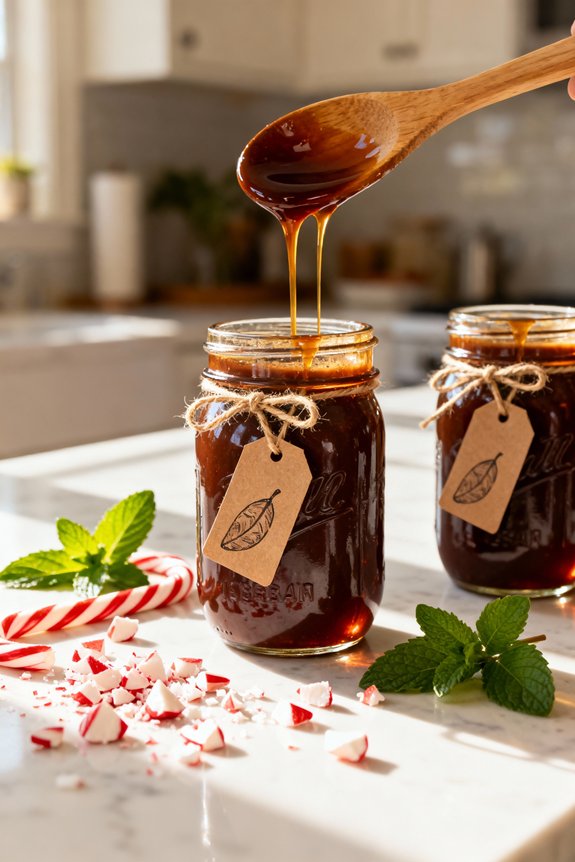
Creative Packaging Ideas for Gifting
Last Christmas, I handed my sister-in-law a mason jar of peppermint mocha syrup wrapped in newspaper, and she looked at me like I’d just regifted a candle from 1987.
Presentation matters, folks.
Here’s what actually works:
| Packaging Element | Budget Option | Splurge Option |
|---|---|---|
| Container | Recycled mason jars | Decorative jars with swing tops |
| Labels | Creative labels from Canva | Custom printed stickers |
| Ribbon | Twine from hardware store | Velvet ribbon |
| Tags | Handwritten recipe cards | Letterpress gift tags |
| Wrapping | Fabric scraps | Burlap bags with drawstrings |
That table transformed my gift game completely.
Quick wins:
- Tie a cinnamon stick to the jar
- Add a candy cane
- Include brewing instructions
Your decorative jars deserve better than my newspaper disaster.
Trust me on this.
Customization Options and Flavor Variations
When my cousin Jake declared he “didn’t really like mint” after I’d already made three batches of syrup, I nearly threw a whisk at him.
But honestly? It forced me to experiment with flavor enhancements I’d never considered.
Here’s what actually works:
- White chocolate peppermint – add white chocolate chips while the syrup’s still warm
- Dark chocolate orange – swap peppermint extract for orange
- Salted caramel mocha – skip the mint entirely, add a pinch of sea salt
Alternative sweeteners totally change the game too.
I’ve used maple syrup for a woodsy vibe, honey for floral notes, and even agave when my diabetic aunt visited.
The best part? Each variation feels like a completely different gift.
Jake got orange mocha. He loved it.
By: EmmaTitle: Homemade Peppermint Mocha Syrup Recipe to Gift in Jars
Sourced From: www.coffeegrindguru.com/homemade-peppermint-mocha-syrup-recipe/
Published Date: Thu, 27 Nov 2025 12:26:44 +0000