I’ve cracked the code for café-quality frozen coffee that takes literally minutes to make. Just toss one cup of chilled coffee, two tablespoons of Cool Whip, a splash of chocolate syrup, your favorite creamer, and a cup of ice into your blender.
Blend until it’s perfectly frothy and creamy, then serve immediately while it’s at peak deliciousness.
This recipe costs a fraction of coffeehouse prices and tastes just as amazing, plus there are endless flavor combinations waiting to transform your morning routine.
Coffeehouse Quality Blended Beverage
Magic happens when you transform your kitchen into a personal coffeehouse, and honestly, this frozen coffee recipe delivers that same indulgent experience you’d pay five bucks for downtown.
I’m talking about that creamy, perfectly balanced blend that makes you wonder why you ever waited in those endless drive-through lines.
Filtered water quality significantly impacts the final taste of your frozen coffee creation.
The secret lies in getting your ratios right. I use about one cup of chilled coffee as my base, then add two generous dollops of Cool Whip because life’s too short for skimpy portions.
A tablespoon of chocolate syrup creates that rich sweetness, while your favorite creamer brings everything together.
Don’t skimp on the ice either – you want enough to create that thick, frosty texture that screams professional barista magic.
Using dark roast coffee helps prevent flavor dilution when blending with ice, ensuring your frozen drink maintains its rich coffee taste.
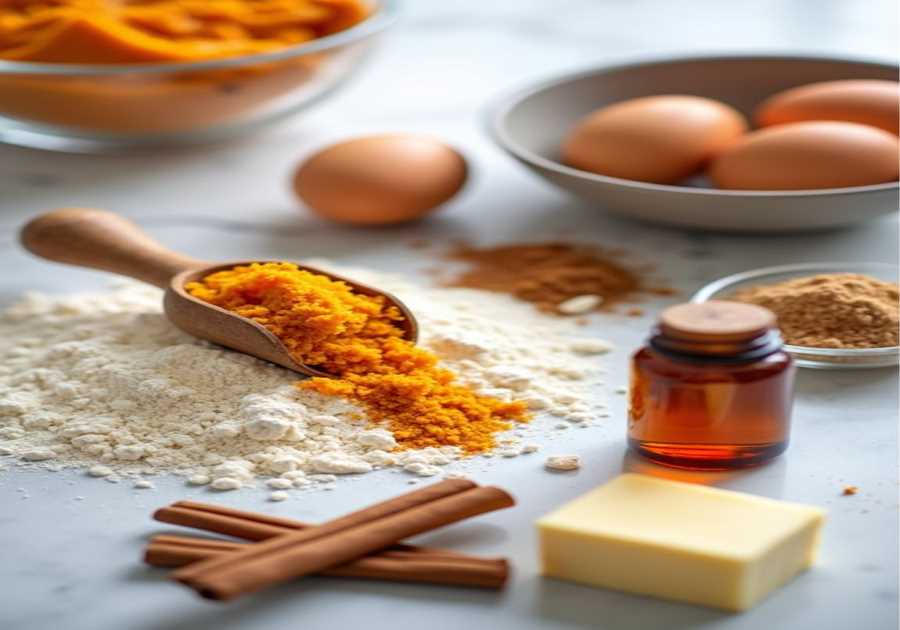
Ingredients
There’s something absolutely magical about a frozen coffee that hits differently than your regular iced coffee, you know?
I tried this heavenly combination on one of those sweltering summer afternoons when my usual cold brew just wasn’t cutting it, and let me tell you, this recipe changed my entire relationship with coffee.
It’s like a milkshake and your morning caffeine fix had the most beautiful baby, and honestly, I’ve been making this almost daily ever since.
Ingredients:
- 1 cup chilled brewed coffee (240ml)
- 2-3 tablespoons Cool Whip or Truwhip (30-45ml)
- 1-2 tablespoons chocolate syrup (15-30ml)
- 2-4 tablespoons your favorite creamer (30-60ml)
- 1 cup ice cubes (about 150g)
Now, here’s where I get a little picky about ingredients, but trust me on this. The coffee needs to be properly chilled, not just room temperature with ice thrown in, because that’ll water down your masterpiece faster than you can say “brain freeze”.
I usually brew a big batch the night before and stick it in the fridge, though you can totally cheat and use leftover coffee from your morning pot. As for the Cool Whip versus Truwhip debate, I’ve tried both extensively, and while Cool Whip gives you that classic creamy sweetness, Truwhip brings a slightly more natural flavor that some people swear by.
The creamer is really where you can get creative though, flavored ones like vanilla caramel or hazelnut turn this into a completely different drink, and honestly, I’ve been known to mix two different creamers just to see what happens.
Directions
First things first, let’s round up everything we need for this caffeinated masterpiece. You’ll want your chilled brewed coffee – and I mean properly chilled, not that lukewarm stuff you forgot about on the counter. Trust me, I’ve made that mistake before and it just doesn’t hit the same.
Using freshly ground beans will give you the best possible flavor and aroma for your iced coffee. For optimal results, consider using burr grinders as they provide consistent, even grounds.
Grab your Cool Whip or Truwhip, some chocolate syrup, your favorite creamer, and a good handful of ice cubes.
Step 1: Load Up the Blender
Now comes the fun part – tossing everything into your blender like you’re some kind of coffee wizard. Add your chilled brewed coffee first, followed by a generous dollop of Cool Whip or Truwhip. Don’t be shy with it, this is what’s going to give you that dreamy, creamy texture that makes this drink so heavenly.
Pour in your chocolate syrup – as much or as little as your sweet tooth demands – then add your favorite creamer. I always go a little heavy on the creamer because, well, why not live a little? Finally, dump in your ice cubes.
Step 2: Blend Until Smooth
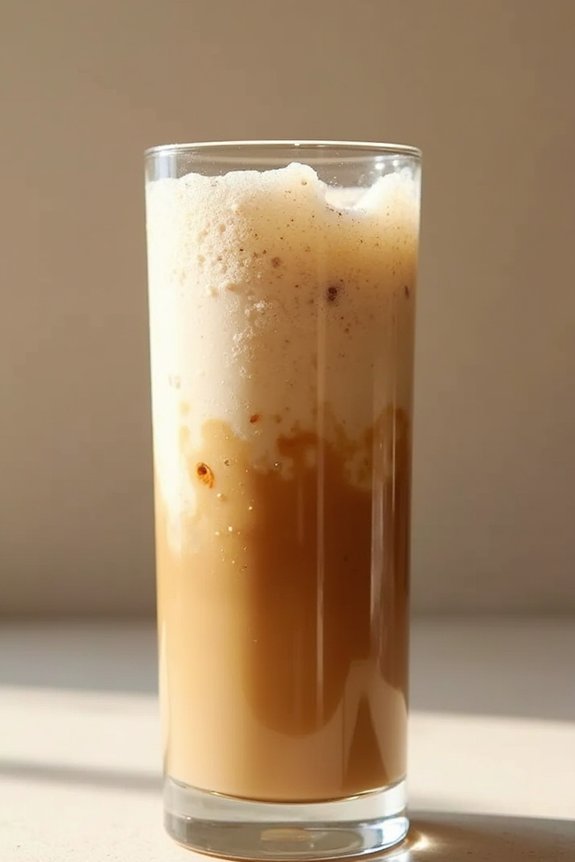
Here’s where the magic happens. Pop that lid on your blender and let it rip until everything becomes perfectly smooth and frothy. You’ll know it’s ready when it looks like something you’d pay way too much for at a fancy coffee shop.
The ice should be completely crushed and incorporated, creating this gorgeous, creamy consistency that’s basically liquid happiness.
Step 3: Serve Immediately
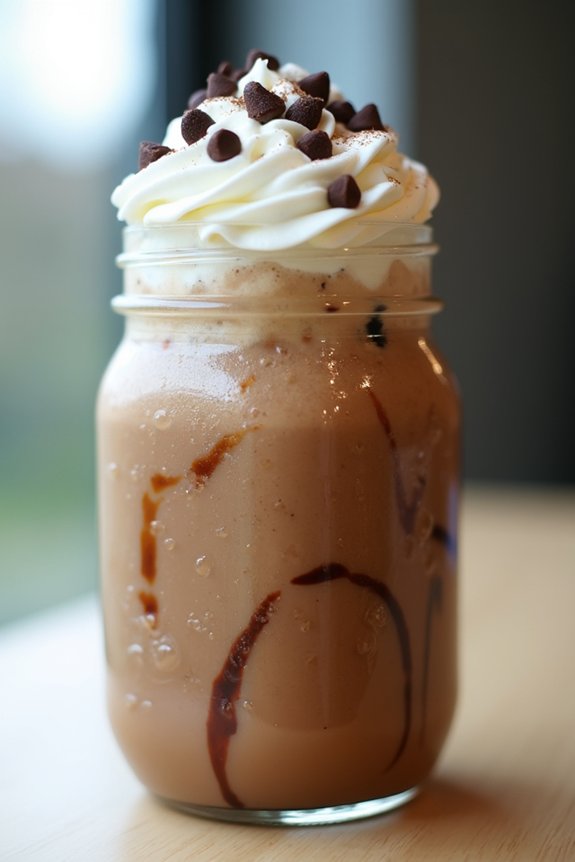
Pour this beautiful creation into your favorite glass – maybe that cute mason jar you’ve been saving for special occasions, or just whatever’s clean in your cabinet.
The key here is serving it right away while it’s at peak frothiness and the perfect temperature. Once you pour it, you’ve got yourself a drink that’s basically summer in a glass, even if it’s the middle of winter.
Pro Tips for Next Level Results
Want to get fancy with it? Try mixing different creamer flavors together – vanilla and hazelnut is my personal favorite combo.
Or swap out that chocolate syrup for caramel if you’re feeling adventurous. And here’s a little secret that’ll make you look like a total pro: top it off with extra whipped cream and a sprinkle of chocolate chips. It’s like adding a cherry on top, but better because, well, chocolate.
Budget Friendly Café Indulgence
While coffee shops charge you an arm and a leg for fancy frozen drinks, this heavenly creation costs pennies on the dollar to make at home. I’m talking maybe two bucks versus their eight-dollar highway robbery.
You probably already have most ingredients sitting in your kitchen right now, which makes me ridiculously happy because who doesn’t love using what they’ve got? Save those coffee filters too – they’re compost pile boosters when mixed with your used grounds.
The beauty here is flexibility with your budget. Fancy vanilla creamer feeling too pricey? Regular milk works perfectly fine.
No Cool Whip? A dollop of any whipped topping does the trick. I’ve even used leftover coffee from yesterday’s pot, and honestly, nobody could tell the difference.
You’re getting that café experience without the café prices, and your wallet will thank you later. And don’t toss those used grounds – they make an excellent natural pest control for your garden, keeping annoying insects away from your outdoor space.
Creative Flavor Combinations
Once you master this basic recipe, you’ll discover that flavor combinations become your personal playground, and honestly, this is where things get really fun.
I’ve probably tried every creamer combination possible – vanilla with caramel syrup creates this dreamy butterscotch vibe, while hazelnut paired with chocolate syrup tastes like liquid Nutella. Using medium roasted beans ensures the added flavors shine through without being overpowered.
Want something tropical? Coconut creamer with a drizzle of vanilla syrup transports you straight to vacation mode.
Here’s my secret: I always taste-test my creamer-syrup combo in a small cup first.
Saves me from accidentally creating disasters like my infamous pumpkin-spice-meets-peppermint experiment. Trust me, some flavors shouldn’t meet.
Start with complementary flavors, then gradually venture into bolder territory once you know what works.
For a healthier twist, try adding Brain octane powder to your coffee for an energizing boost that helps prevent cravings throughout the day.
Sweet Breakfast Pastry Pairings

The magic happens when you pair this heavenly frozen coffee with the right breakfast pastry, and I’m telling you, it’s like finding the perfect dance partner.
I’ve tested this theory extensively, mostly because I’ve zero self-control around pastries.
- For a classic British touch, try a slice of coffee walnut cake with your frozen brew.
- Buttery croissants work beautifully – their flaky layers soak up just enough coffee drips without getting soggy.
- Cinnamon rolls are my personal weakness; that sweet, spicy warmth plays perfectly against the cold coffee’s richness.
- Danish pastries, especially cheese or fruit-filled ones, create this amazing sweet-tart contrast that’ll make you question why you ever ate them separately.
Here’s my trick: warm the pastry slightly, then dip corners directly into your frozen coffee.
The temperature contrast hits different, trust me on this one.
For the richest experience, try pairing with pastries that complement the dark chocolate notes typically found in dark roast coffees.
Instagram Worthy Presentation Tips
Now that you’ve got this gorgeous frozen coffee and maybe some pastry crumbs on your fingers, let’s talk about making it look absolutely stunning for your feed.
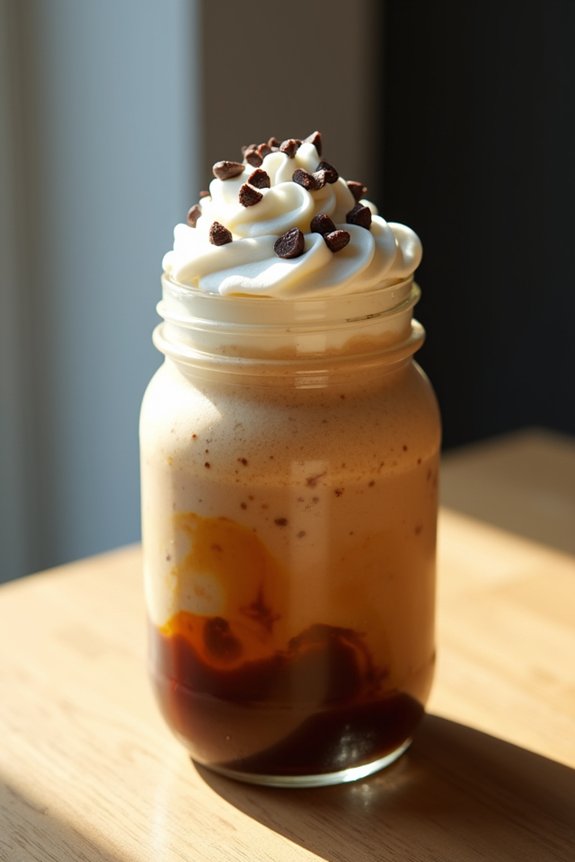
I always start with a clear glass because you want to show off those beautiful coffee swirls. Before pouring, I drizzle extra chocolate syrup down the inside walls of the glass—it creates these amazing streaks that photograph like a dream.
Then I pour slowly, letting the drink settle naturally. The finishing touches make all the difference: a generous dollop of whipped cream on top, maybe some chocolate chips scattered around, or even a light dusting of cocoa powder.
Trust me, good lighting beats any filter.
Taste Test & Verdict

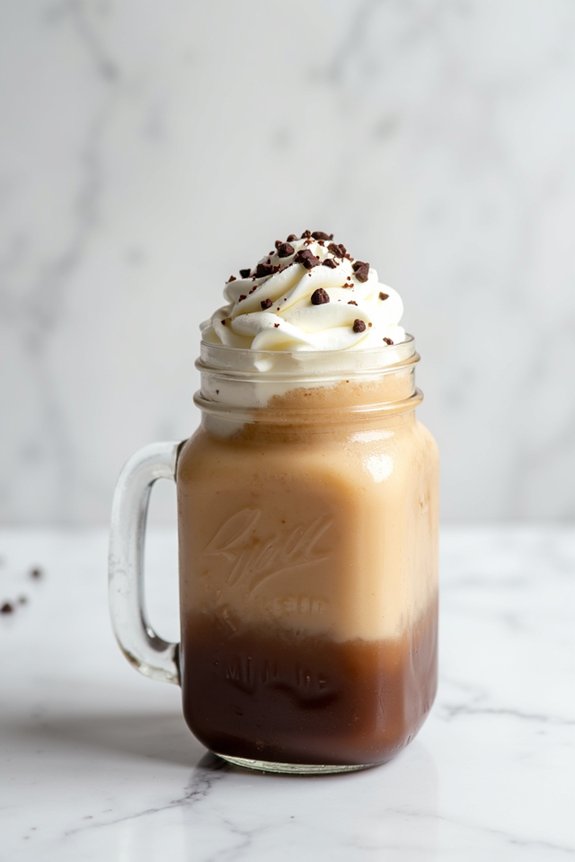
How does this heavenly creation actually taste after all that blending and Instagram posing? I’m telling you, it’s absolutely divine.
The coffee flavor comes through bold and rich, while the Cool Whip adds this creamy, almost ice cream-like texture that makes each sip feel indulgent.
The chocolate syrup weaves through perfectly, giving you those sweet cocoa notes without overpowering the coffee base. What really surprised me was how the creamer rounds everything out, creating this smooth, café-quality drink that rivals anything you’d pay eight dollars for.
The ice transforms it into something between a milkshake and a frappé. Honestly, I’ve made this three times this week already, and my blender’s probably wondering what happened to my usual smoothie routine.
Popular Questions
Can I Make This Recipe Without a Blender?
Picture desperately craving that creamy, icy coffee treat but staring at an empty counter where your blender should be. I’ve got disappointing news: you’ll need that blender to properly crush ice and create the smooth, frozen texture.
How Long Can I Store Leftover Frozen Coffee in the Refrigerator?
I’d recommend storing your leftover frozen coffee in the refrigerator for up to 24 hours maximum. Beyond that, it’ll separate and lose its creamy texture, so you’ll need to re-blend before drinking.
Is This Recipe Safe for People With Lactose Intolerance?
Looking for lactose-free options? Unfortunately, this recipe isn’t safe since Cool Whip and most creamers contain dairy. I’d recommend substituting coconut whipped cream and plant-based creamer to make it lactose-intolerant friendly.
Can I Use Decaf Coffee Instead of Regular Coffee?
Yes, I’d recommend using decaf coffee instead of regular coffee! It’ll taste just as delicious in this frozen coffee recipe. The decaf won’t affect the flavor or texture, so you’ll still get that amazing creamy, chocolatey treat.
What’s the Caffeine Content Compared to Regular Iced Coffee?
I can’t give you exact caffeine amounts since they vary by coffee type and brewing strength. However, if you’re using decaf, you’ll get significantly less caffeine than regular iced coffee – about 95% less.
By: RuudTitle: Heavenly Frozen Coffee Recipe in Done Minutes
Sourced From: www.coffeegrindguru.com/frozen-coffee-recipe/
Published Date: Sun, 01 Jun 2025 11:24:53 +0000